How To Grow Oyster Mushrooms at Home
Oyster Mushrooms are among the easiest varieties of mushrooms to grow for yourself or for your business. They are very healthy and delicious, and it is grown in many parts of the World.
In this step by step guide, you'll learn
- The whole process to grow.
- Commonly growing oyster mushroom varieties.
- Problems and their solutions.
To be honest man, I am using affiliate links in this guide. So I'll get a small commission without extra charging you. My Email: [email protected].
Why Oyster Mushrooms?
You might be wondering why growing oyster mushrooms if there are many varieties in the market?
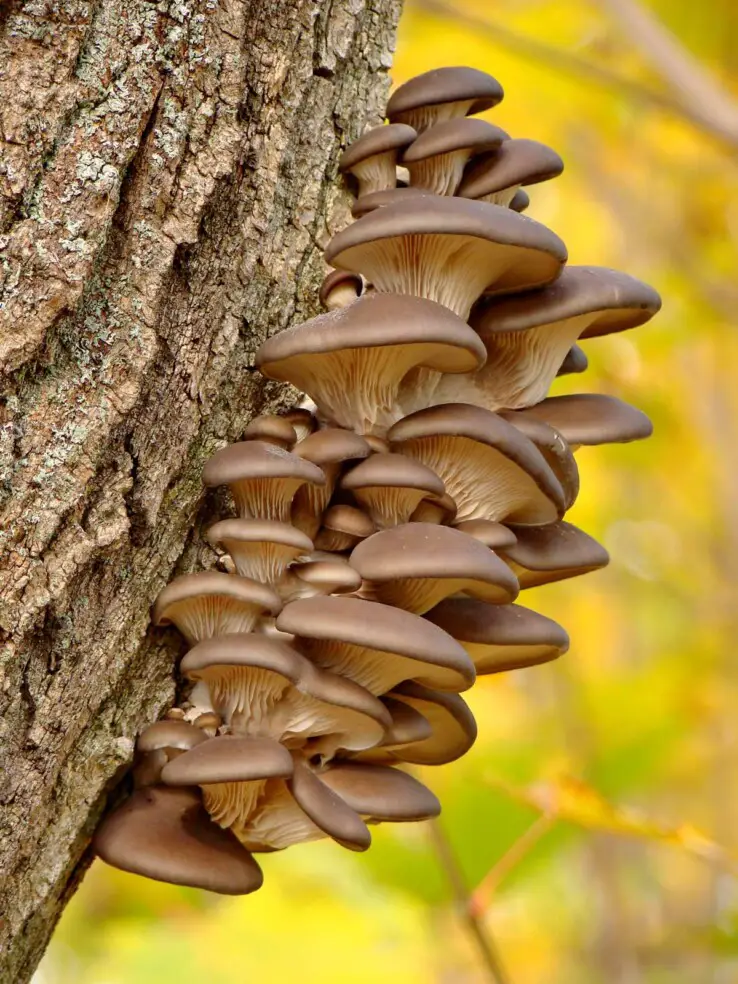
Oyster mushrooms were first cultivated by the Germans in WW2.
As, they are very easy to cultivate, tolerant to many harsh environments, and their faster-growing rate makes it ideal for beginners and pros alike, or for growing at home or mushroom farm.
The worldwide total commercial oyster mushroom cultivation increased over 18-times more from 1965 to 1997. The cultivation increased from 350k metric tons in 1965 to 6,160.8k metric tons in 1997. (source).
This increase is because of their fast production methods with the health and culinary benefits of Oyster mushrooms.
Can you grow oyster mushrooms at home?
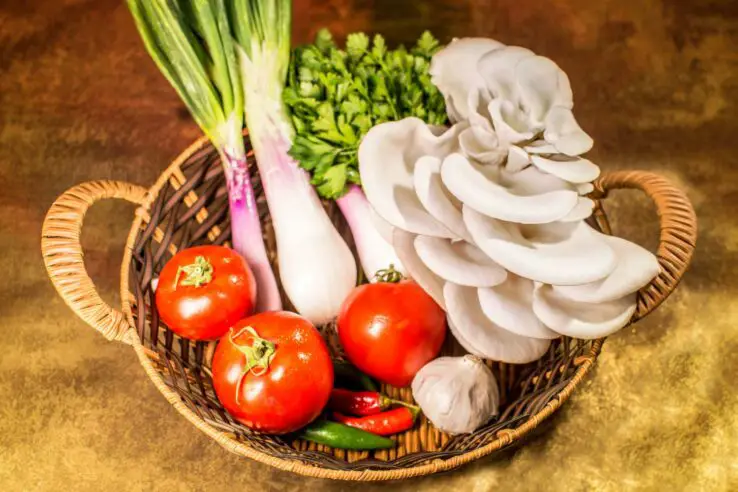
Yes, oyster mushrooms are among the easiest species that can be easily grown at home, or even in your living room. It has the ability to survive and grow in almost every part of the World and on many things, including logs, coffee grounds, and sawdust, etc. So, you can grow it everywhere.
Quick and Easy way to Grow Oyster Mushrooms
Oyster mushrooms are one of the easiest to grow mushrooms. they are very quick, relatively resistant to many organisms, and can be grown on many different types of growing mediums called substrates.
But before anything else, we should learn the following 3-steps basic process of growing oyster mushrooms.
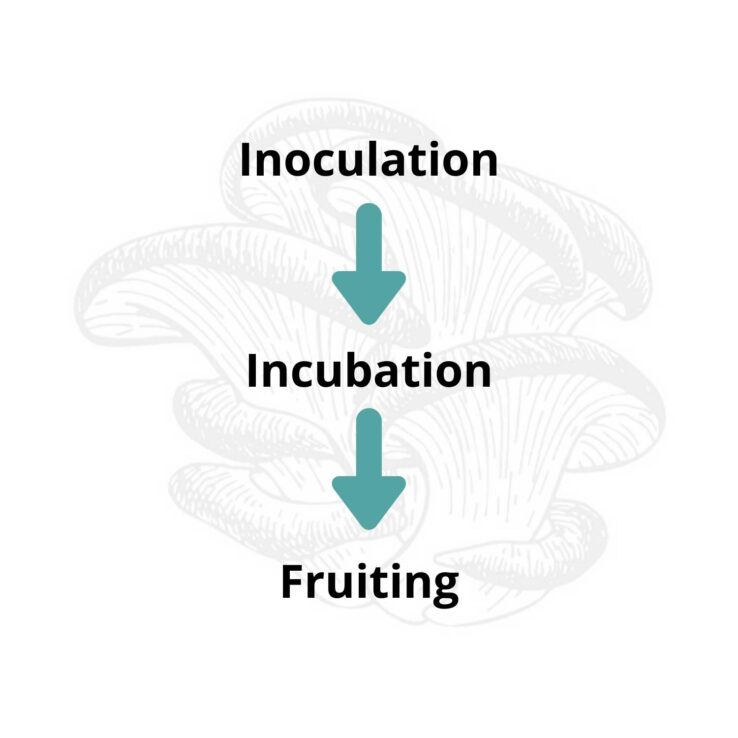
- Inoculation
- Incubation
- Fruiting
1) Inoculation
In this step, the oyster mushrooms spawn is mixed with a substrate, that can be sawdust, straws, coffee grounds, or another suitable growing medium.
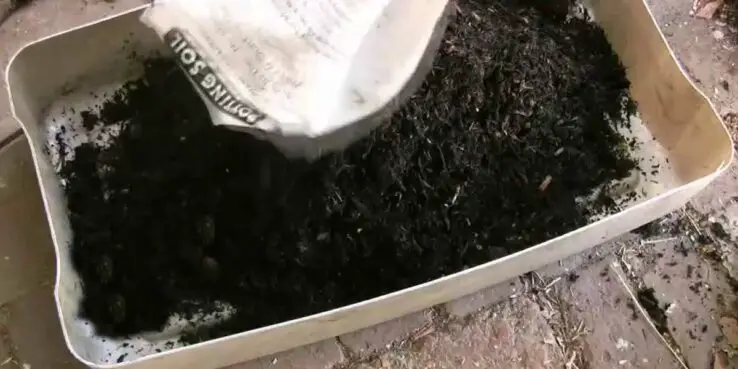
This spawn mixed medium is then placed in grow bags having holes for aeration.
2) Incubation
The growing bags of oyster mushrooms are placed in a warm and dark-room, usually with a temperature range of 20-24C (68F-75F).
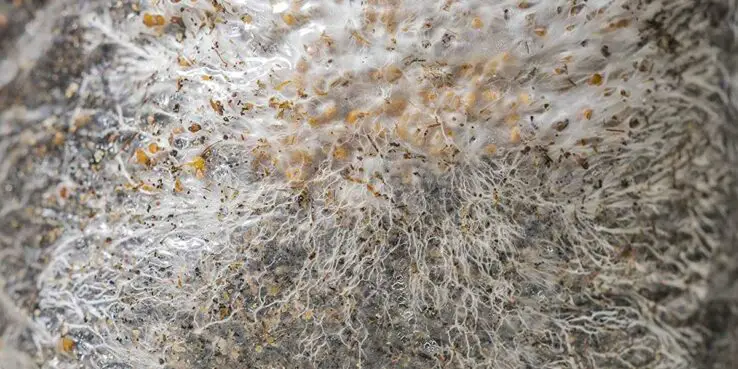
In about 2 weeks, the spawn will grow and colonize the growing medium. The spawn looks like a web of root-like threads of mycelium.
3) Fruiting
After fully colonizing the growing substrate, some small pins will begin to emerge from the holes of the grow bags.
In this stage, an autumn-like condition should be applied, which will signal mycelium to start producing mushrooms.
The environment should be a little bit cooler, with high humidity, low light, and fresh oxygen.
These small pins will grow in just about 1 week to fully-grown mushrooms, which you can harvest. They are fed by water from the environment, and nutrients from mycelium.
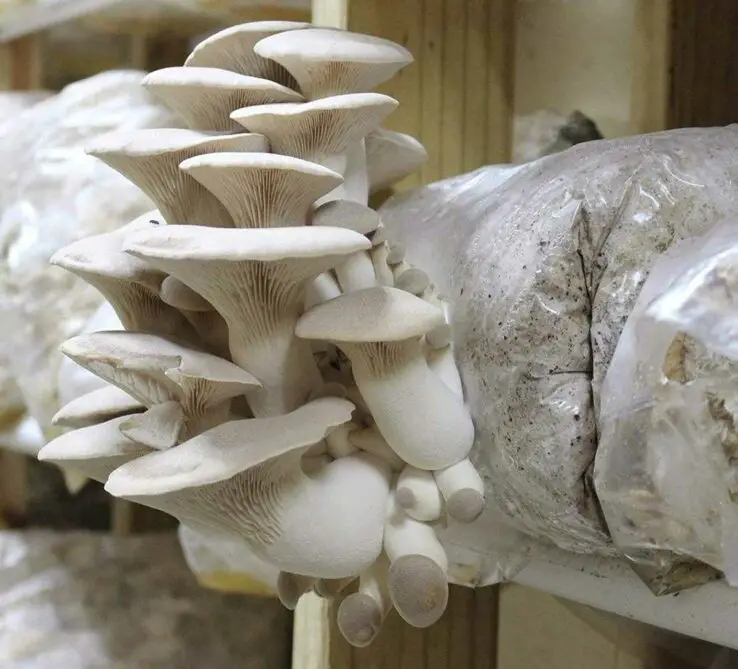
After harvesting the first time, a new crop will be available every 1 to 2 weeks.
You can harvest up to 3 times from these mycelia, after which you'll need to start over because there won't be enough nutrients/foods left in the substrate. i.e. You can harvest 3 crops from single cultivation in about 5-8 weeks only.
Health Benefits of Oyster Mushrooms
The health benefits are yet another reason to grow oyster mushrooms. Although, some mushrooms like shiitake mushrooms have more health uses than button mushrooms or oyster.
Below, I am mentioning some of the known benefits of oysters.
- Boost the immune system.
- Improves strength and regulation.
- It has Antimicrobial which helps fight off E. coli, Streptococcus, Staph, Candida overgrown, and Enterococcus infection.
- Anticancer (polysaccharide in Oyster mushrooms is anti-tumor in animal studies and in-vitro).
- Antiviral (protects against direct and indirect viral activity).
- Full of Protein.
- Free of Cholesterol.
- Contains high levels of Vitamins D, D3, D5, and A.
How To Grow Oyster Mushrooms At Home
Step 1: Choose Oyster Mushrooms Strain
First, get your desired oysters spawn and substrates.
1 - Which Oyster Mushroom Strains To Grow
There are many types of oysters mushrooms that you can choose from. Some popular are these.
Note: you should always get grain spawn. Because grain spawn is made from sterilized grains. Grain spawn is expensive than sawdust spawn, but it's worth it.
Pearl Oyster Mushroom (Pleurotus ostreatus)
The Pearl Oyster Mushroom is a commonly grown type of oyster mushrooms. It is usually grown best in cooler temperatures, hence, called the winter mushroom. It is also known as Gray Oyster or Common Oyster.
Blue Oyster Mushroom (Pleurotus ostreatus var. columbinus)
The Blue Oyster Mushroom is a subspecies of common oyster mushroom. It is common throughout the Northern hemisphere.
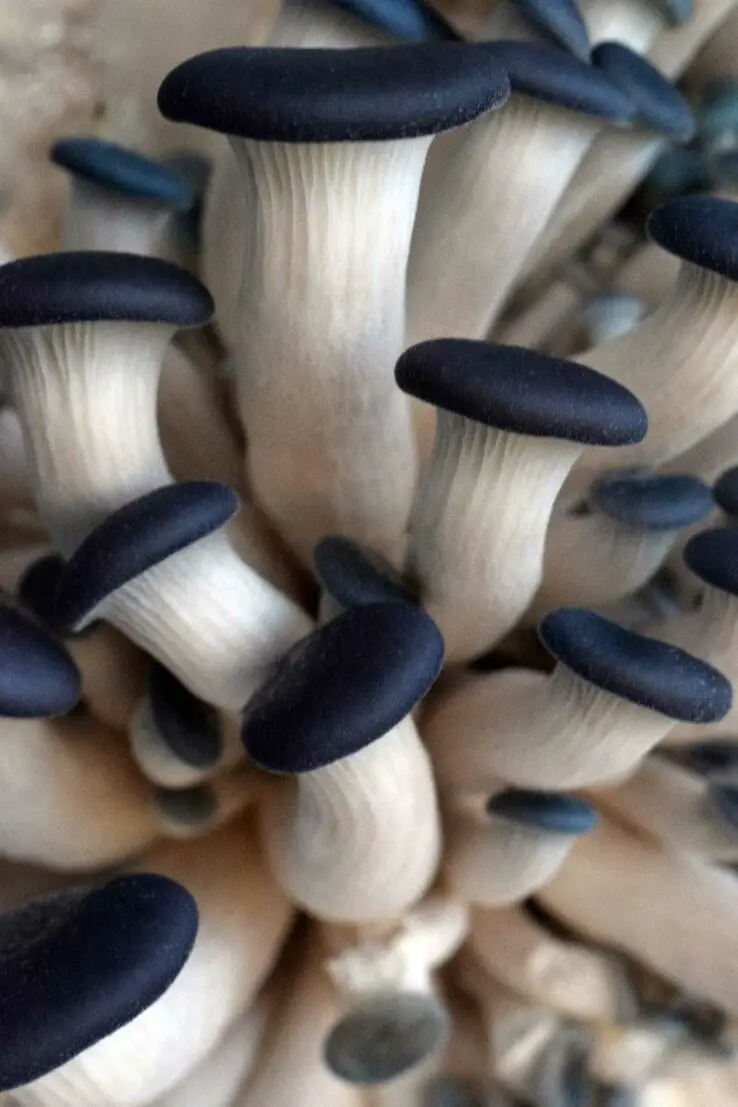
If you want to grow the Blue Mushroom, you'll need to provide a cooler temperature as of its natural habitat. They prefer a temperature range of about 12-18 C (45-65 F).
The Blue Oyster Mushroom is one of the fastest colonizers of all types of oyster mushrooms.
Phoenix Oyster Mushroom (Pleurotus pulmonarius)
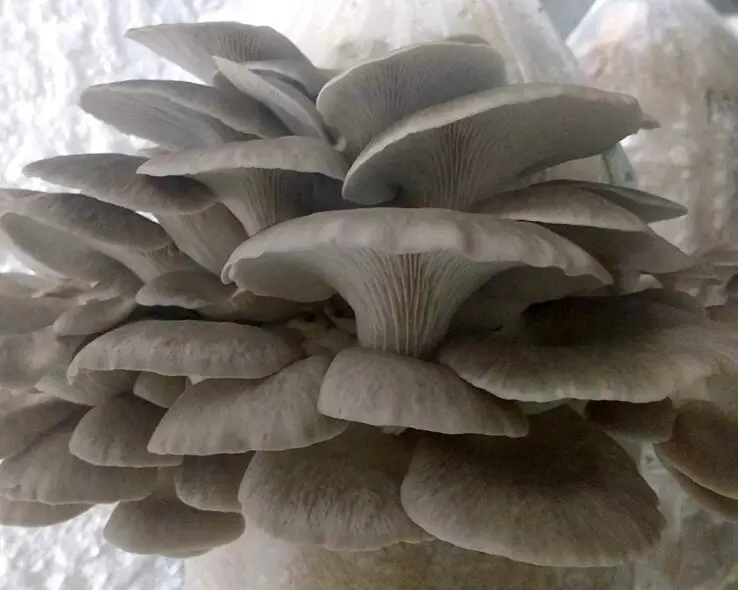
The Phoenix Oyster Mushroom like to grow in summer or hot temperature. That's why it is also known as the Summer oyster, Italian oyster, or Indian Oyster Mushrooms.
The Phoenix Oyster Mushroom has either a white or a brown/tan color, depending on its strain.
Golden Oyster Mushroom (Pleurotus citrinopileatus)
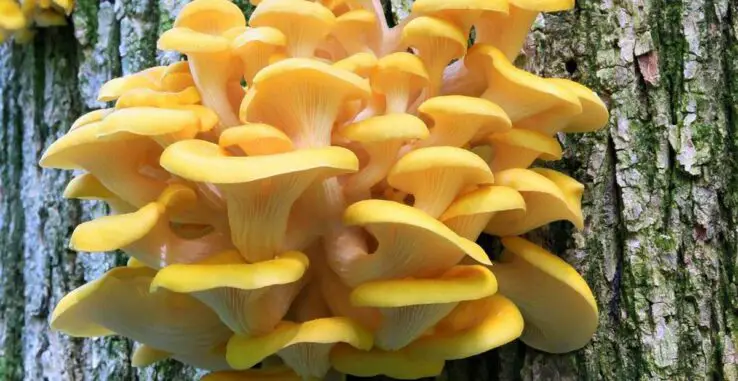
The golden oyster mushrooms have a beautiful yellow color through their entire growth cycle. It grows fast and has high CO2 levels of tolerance.
They have very little shelf life. Its beautiful yellow bouquets smell distinct like any citrus fruit. It is also known as yellow oyster mushrooms.
Golden oyster mushroom is beginner-friendly, as it grows quickly and does not require much fresh air intake.
Yellow oyster mushrooms can easily grow on a variety of substrates, except straws. It grows much better on hardwood sawdust amended with master mix or bran.
It is best to consume it as fresh as possible because it starts to smell like urine if left in a fridge for just a couple of days. This is also the reason you won't see it often in grocery stores.
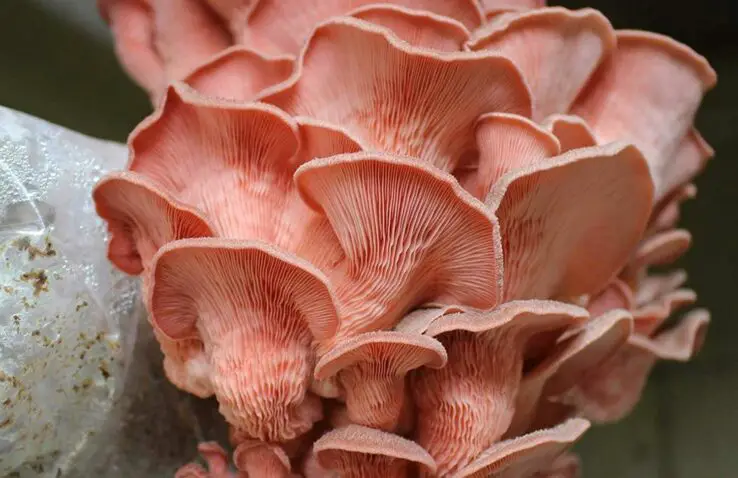
Pink Oyster Mushroom (Pleurotus djamor)
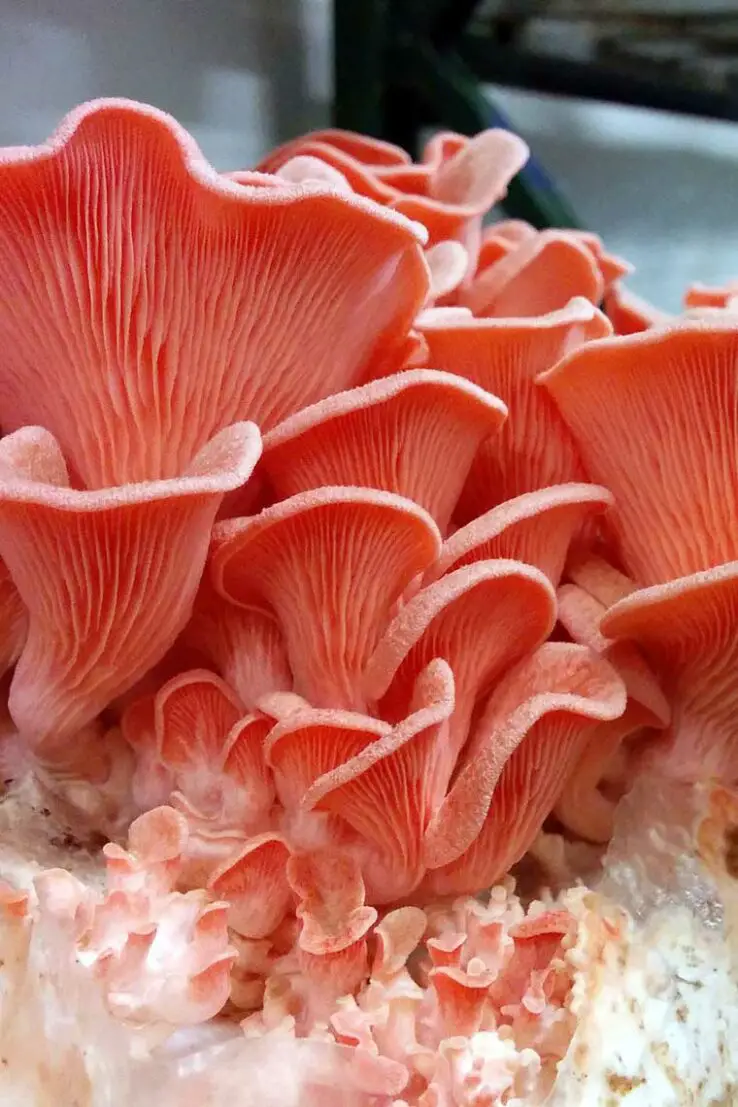
Pink oyster mushroom has a bright pink color, thick fruit, and a messed up appearance than others. It is heat tolerant but may die if left at a cooler temperature.
It has a brighter and beautiful color that fades when cooked. Pink oyster mushrooms are famous for heat tolerance that can be grown in a hot environment. But it also makes it difficult for storing its spawn or culture in a fridge.
Pink mushrooms should be consumed as fresh as possible or in a few days it won't viable for consumption. It is woody, tough, and more powerful.
King Oyster Mushroom (Pleurotus eryngii)
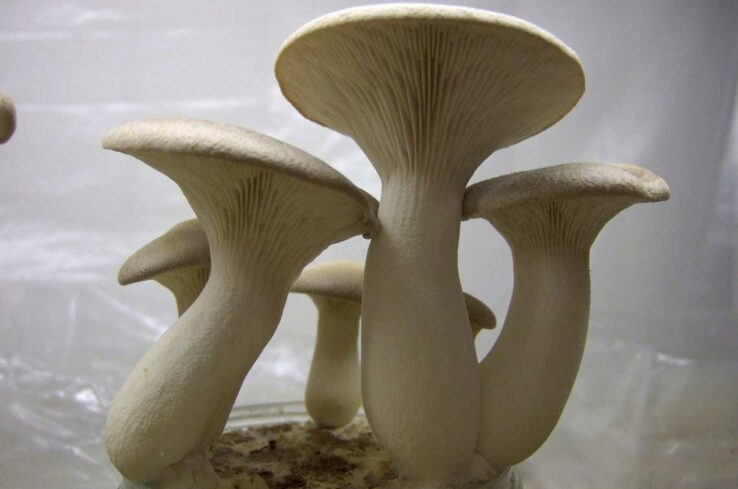
The king oyster mushroom is the largest grown species of all oysters. It has white meaty stems with tan-colored caps.
these mushrooms have the longest shelf life among all oysters. They can grow on a variety of growing media, like straws and sawdust. It is most often grown on sawdust to get a better yield.
They are grown in low light and high CO2 level conditions, which gives them meaty stems with small caps. Their stems are of great texture and flavor.
If they are grown in a well lit and low CO2 levels environments, then they'll yield large dark caps that resemble a portobello.
They are more difficult to grow. They prefer cooler temperatures, I.e. 12C-18C (45-65 F). Also called the Eryngii mushrooms.
2 - Which Oyster Mushroom Substrate To Grow On
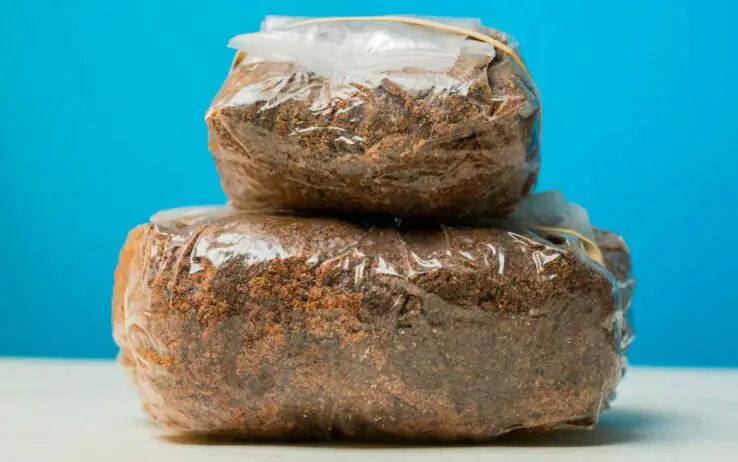
A substrate is a medium that produces food for the mycelium. While mycelium is like a seed of mushrooms. It is a root-like vegetative growth of the fungus.
There are a wide variety of substrates for growing. It includes straw, coffee grounds, wheat straw, hardwood sawdust, cardboard, and agriculture byproducts like sugarcane, cotton waste, and bagasse. However, the most used substrate is straw.
So choose the one that is easily available to you, but try to avoid straws if you are planning to grow golden oyster mushrooms. Because it may give you a tough time, especially for beginners. You can use wood pellets or coffee grounds (from a coffee shop) too and you'll just need to add water as they come pre-pasteurized.
3 - Get your supplies ready
After choosing the oyster mushroom type and substrate for growing, you should order them to get started.
You'll need the following supplies ready for oyster mushroom growing.
- Oyster mushroom spawn ( from 100g to 1kg+ ).
- Your chosen substrate for oyster mushroom growing.
- Growing bags/containers ( you can also use DIY growing bags or a plastic bag ).
Oyster mushroom spawn can be ordered from many different suppliers. Prefer your local suppliers if available, Or get it on amazon.
Always choose grain spawn over sawdust spawn, as it'll produce better fruit.
The growing bags or containers to grow your mushrooms can be ordered from Amazon as well. They are specifically made for growing mushrooms and provide the perfect condition. Alternatively, you can use other DIY containers.
Also, don't forget to poke 0.5mm holes in every 9cm to 11cm apart in your growing bag for the fruits to come out of.
Step 2: Prepare your oyster mushroom substrate
The main purpose of a growing medium is to provide a food source for the oyster mushroom to grow on. It should be well hydrated, full of nutrients, and clean of other micro-organisms that would compete with oyster mushrooms.
There are several easily available growing medium choices. It includes straw, sawdust, cardboard, sugarcane, and coffee grounds, etc.
The mushroom substrate preparation methods can be different. But the goal is to clean it, hold enough water, and process it so it'll easily provide the food a mycelium needs to grow.
Preparing substrate from straws and cardboard
Straw is one of the cheapest and commonly used substrates for oyster mushroom cultivation. Straw contains all the necessary nutrients that are needed for the oyster mushroom to thrive.
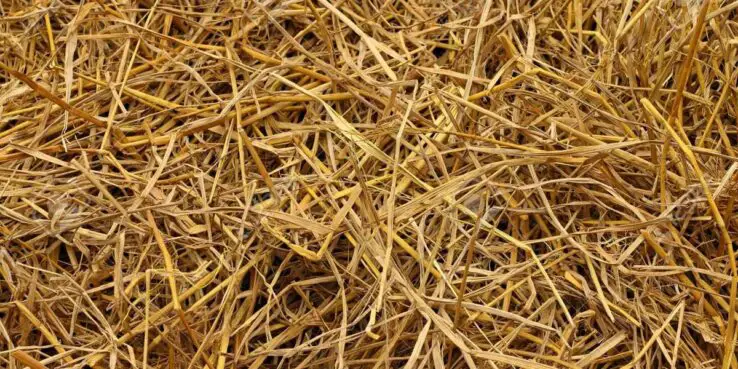
To prepare straw, you need to pasteurize it by soaking it in hot water for about 2 hours. The hot water temperature should be 65-80C (149-176 F).
You can also use cold water high-pH lime bath for up to 20 hours.
Alternatively, you can also submerge a bag of straw underwater for up to 10 days which will eliminate microorganisms in it. For a whole bale of straw keep submerged for 2 weeks. ( more info )
Preparing sawdust pellets substrate
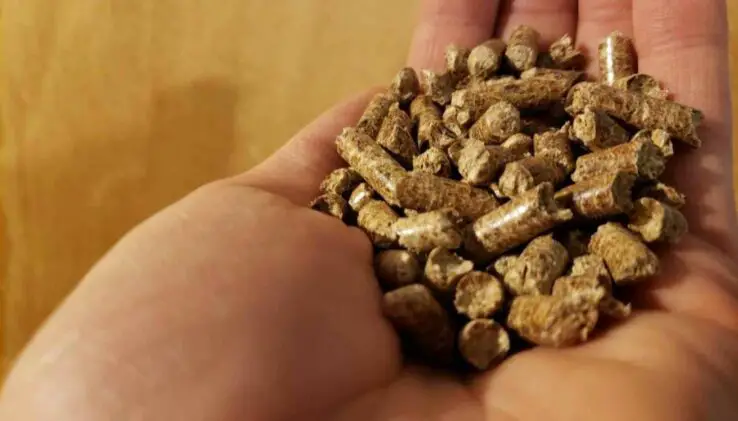
If you don't want to pasteurize your substrate you can use sawdust pellets. As it is pre-pasteurized due to heat and pellet production process.
Add equal weight of water to the weight of pellets, leave about 20-40 min, and then mix it to break the pellets into fine hydrated sawdust.
Preparing the coffee grounds substrate
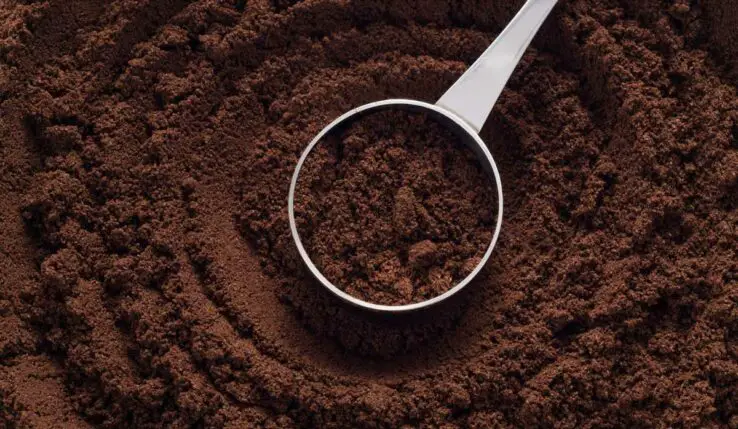
Like the sawdust pellets, the coffee grounds are also already pasteurized due to the coffee brewing process. But coffee grounds should be used within 24 hours. So the freshness and hydration will remain.
After 24 hours, other micro-organisms start to develop, which will ruin your oyster mycelium.
You can also mix coffee grounds with straw to get more benefits, especially if you want to grow a large number of oyster mushrooms. Coffee grounds contain the essential nutrients that mycelium need.
Coffee grounds also help in repelling insects and pests, so it is also valuable for outdoors.
I'll write a step by step guide for growing mushrooms outdoors. If interested, please leave a comment.
Step 3: Inoculation
The process of adding mushrooms spawn to your prepared substrate is called inoculation.
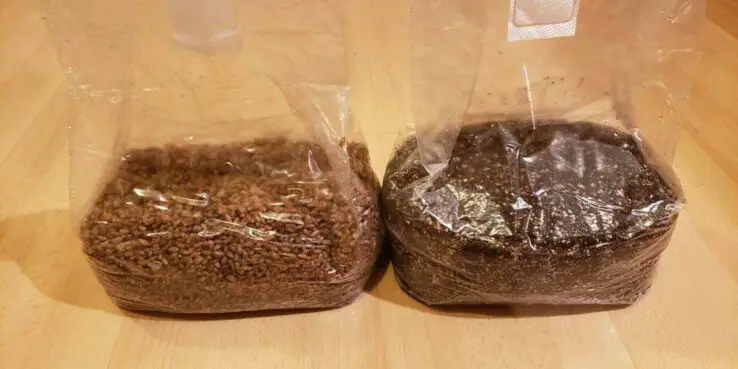
First thing first, clean your hands and all the surfaces you are about to work with to avoid any type of contamination.
Before mixing your spawn with the substrate, make sure the substrate contains enough moisture. The substrate moisture should be in the range of 55% to 75% depending on the type of substrate you are using. For sawdust and coffee ground it should be about 55% while for the straw it should be 75%.
The best way to check the moisture level is to squeeze slightly it in your hand. It should stick together to become like a ball. If some drops of water come out, then it is ok to use. If more water drops come out, you'll need to dry it. If it doesn't stick together to become a ball, then you'll need to add more water.
Although with the pasteurization process, almost all substrates will have enough moisture to start with.
If you are using coffee grounds, make sure to break any pucks of it thoroughly. Btw, it is better to use coffee ground mixed with straw (20% to 50%).
Now, as your substrate is ready, mix the oyster mushroom spawn with it in a large container. The spawn might be hardened, you'll need to break it down as much as possible.
After mixing them up thoroughly, fill up your growing bags with it, and seal it. It is better to use a filter patch bag, or, you'll need to put holes in it about every 8-10 cm apart for air exchange.
How much mushroom spawn to add
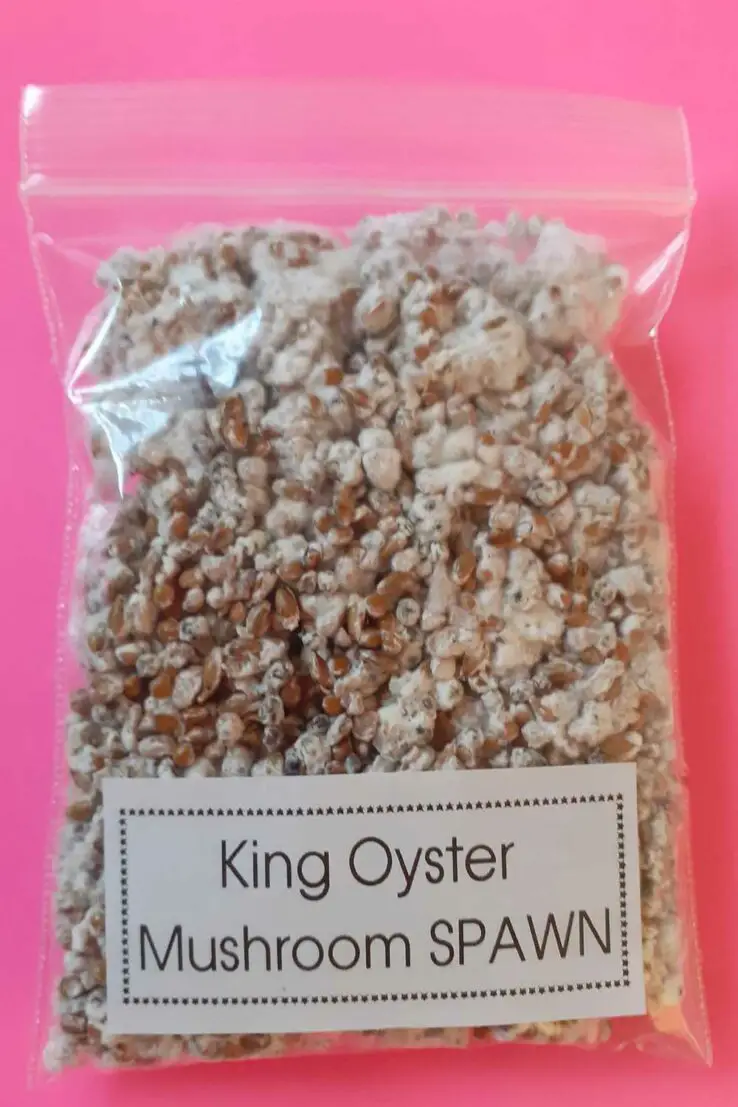
Mushroom spawn should be added from 10% to 20% of the substrate. The more mushroom spawns you'll use, the better and soon will it colonize the substrate, yielding a higher chance of success.
Things to avoid during mushroom inoculation
- Avoid contamination as much as possible. Breath, skin, and clothes contamination is enough to destroy perfect mushroom cultivation.
- Avoid adding your spawn to a hot substrate, or it'll kill it. Allow your substrate to completely cool down before inoculating with mycelium.
- If you are storing mycelium in a fridge, warm it up to room temperature first.
Step 4: Mushroom Colonization (Incubation)
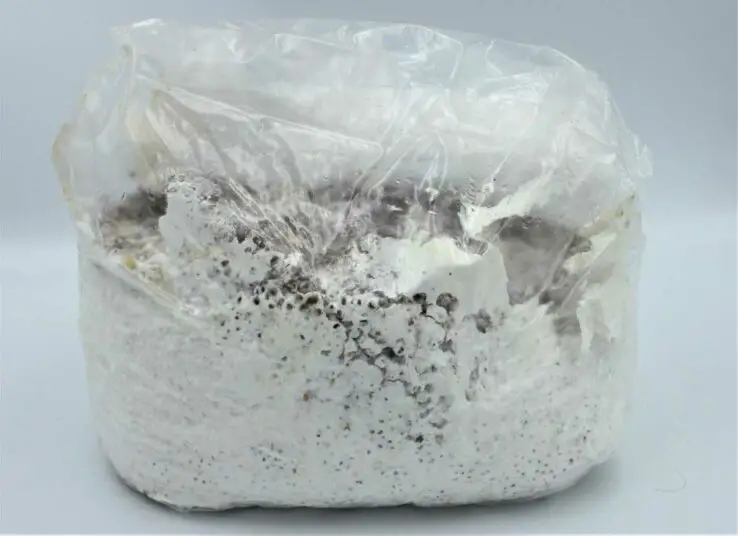
In the mushroom colonization step, the spawn will grow and spread all over the substrate, devouring nutrients. In a couple of weeks, the mushroom mycelium will have completely engulfed the substrate, and is said to be "fully colonized".
This is the waiting stage. Once the bags become fully white (fully colonized), it's time for the final stage, i.e. fruiting.
Mushrooms incubation conditions at home
Providing the mushroom incubation conditions at home is not hard. Mushroom incubation needs a dark place, warm, humid, and nutrients rich substrate to fully colonize. You can use a lit place, but it may also produce early pinning.
Common mushroom incubation problems
- Watch out for green or blue mold growing in your bag. If it is little, you can ignore it. But if it is more, your mycelium may not be able to overcome it. You should compost it, and start over.
- Be sure to increase air ventilation by opening windows or doors. A lake of oxygen and a too dark place is not good for mycelium growth.
- If your mycelium growing poorly, use high rates pawn, or adjust good conditions for a better growth rate.
- If you see too high humidity, reduce it by providing air circulation. If there is water in a bag pierce that bag and drain water.
Step 5: Fruiting
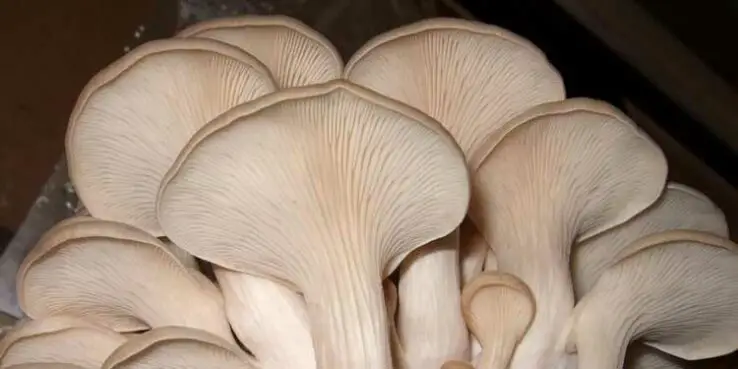
Now, this is the fun part. Finally, you'll receive what you were waiting for. But before anything else, you should pay a little bit of attention to get as many oysters as possible.
In the wild, they grow in a stressful situation, which includes a lake of food or change in the environment, etc. To get the most out of your cultivation in your garden, you'll have to replicate this process.
When the mycelium fully colonizes the substrate and consumes almost all of the available food, you'll start to see little mushrooms bursting from holes.
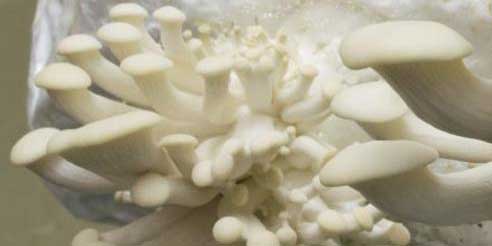
Once these tiny oysters get started to grow, you might need to humidify them several times a day if there is less humidity. You'll see your oysters will double in size every day.
The following are the conditions you'll need to provide to get the best mushroom fruit.
Provide good shaded light
Usually, mushrooms do not gain energy from direct sunlight. So, keep it away from the direct sunlight. But an indirect or shaded light is needed for the fruitbodies to form properly.
Provide some fresh air
In nature, mushrooms grow from stump or logs, where they get a lot of fresh oxygen-rich air. You'll also have to provide the same condition to get a better yield. Putting 0.5mm holes in bags every 8-10cm apart will signal mycelium to grow mushroom fruitbodies as there are fresh air sources.
Humidity
You might have noticed that in wild it often grows in a place where humidity in air and substrate is higher. It is because mushrooms need high humidity to grow.
Spraying the mushroom bags with water twice a day will be enough for the fruitbodies to grow and stop drying out.
Temperature
Generally, if you provide a temperature between 10-30C ( 50-86F ), it will develop fruit.
Required time for fruiting after incubation
In one week, after incubation, you'll see small mushroom pins coming out of the holes that you'll have punched in the container. Those small pins will become double in their sizes day by day. In about one more week, you'll have fresh mushrooms ready to be harvested.
Always spray twice a day with water to maintain the humidity during their growth.
Step 6: Harvesting and storing oyster mushrooms
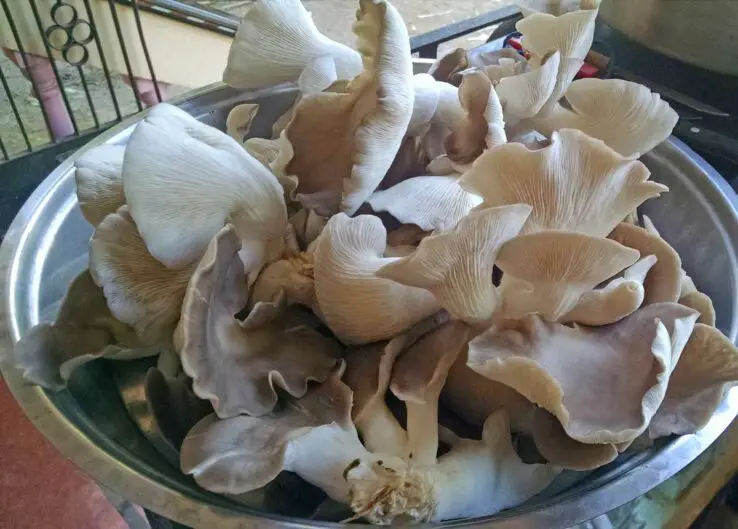
Once you start to see the edges of your oyster mushroom caps turned upward or flattened out, it is time to harvest them.
Proper Harvesting
You can harvest the whole oyster mushroom cluster from the base by gently twisting or cut it with a sharp knife. Handle them with care as they are usually quite delicate.
Pro tips:
- Before harvesting, it is best to let the mushroom dried out, especially in a very humid area. But not that much dry so they start dropping white dust ( pores ).
- If you notice that they no longer growing bigger, drying out, and dropping white spores, it is time to harvest asap.
Properly storing oyster mushrooms
Oyster mushroom shelf life is not that great. That's also the reason you probably won't see any good looking oyster in markets.
Their shelf life can be extended by storing them in a fridge. You can use paper bags or paper towels to wrap it in. While a sealed plastic bag or Ziplocs will quickly make them bad.
Common problems with growing oyster mushrooms
Oyster mushroom farming is fun. But you may face some problems like almost every mushroom growers, especially the beginners.
Here are some of the most commonly known problems with growing oyster mushrooms.
Bacterial blotch
The bacterial blotch problem usually occurs due to very high humidity for a longer time in your mushrooms growing chamber. Much water will pool on your mushroom fruit where bacteria will grow. It appears like dark spots in their caps.
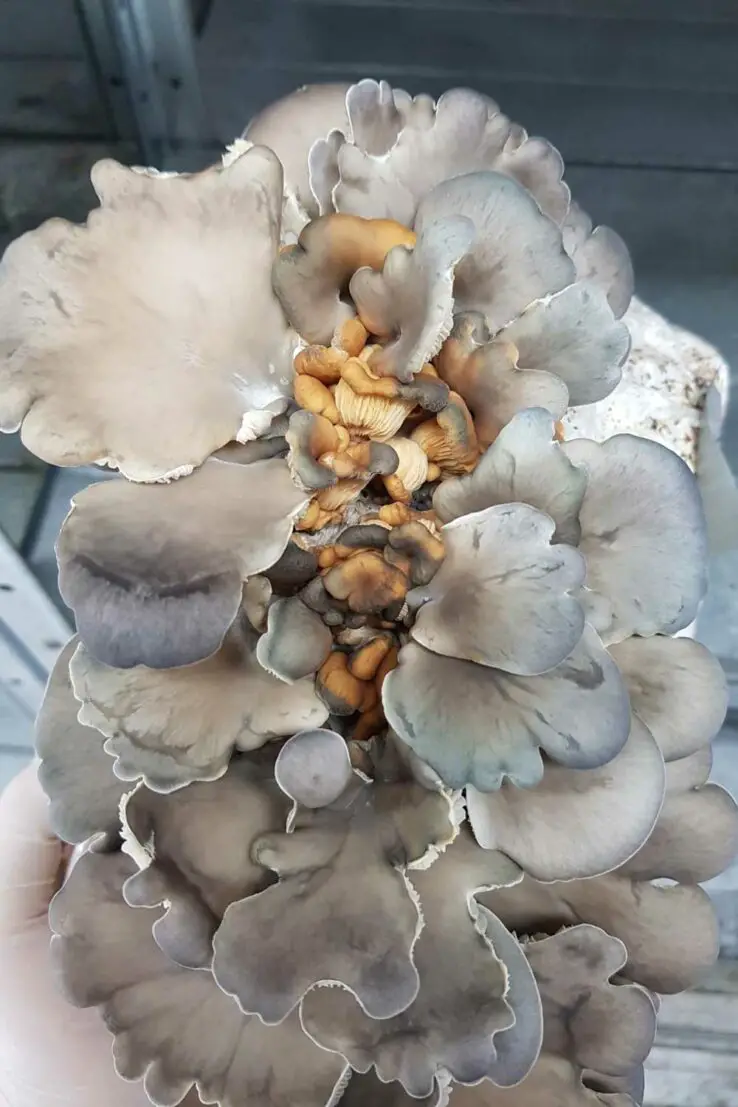
To be safe, it's a good idea to lower the humidity and cycle it more often. Make sure there is no standing water.
And most importantly, get rid of that contaminated mushroom fruit as soon as possible to save other mushrooms.
Mycelium stopped growing
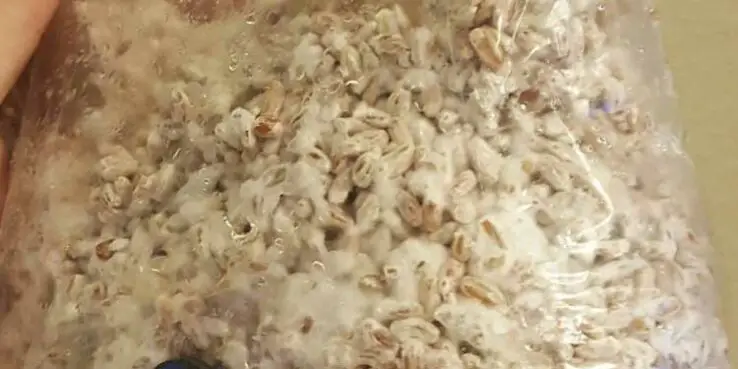
If your mycelium suddenly stops growing, chances are it is being contaminated. You can remix it up and see the result. If it is contaminated, it'll soon apparent. In that case, you should dump it and start over.
Deformed Fruit Bodies
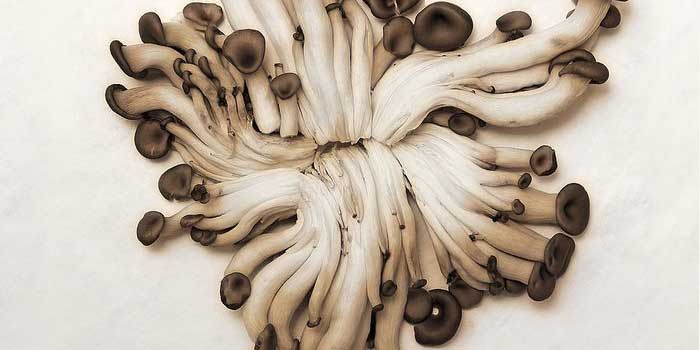
Deformed mushrooms, like thin long stems with small caps, may result from several causes, many of them are still unknown. But these usually happen due to a lake of fresh air, high CO2, smoke, overheated substrate during spawn run, chemical vapors, extremely low fruiting temperature (i.e. 10C), and insufficient light.
Oyster mushroom mycelium won’t fruit
If your oyster mushroom won't fruit, this could be caused by many factors. But the most common might be due to inadequate fruiting environment, like higher or lower temperature than needed, or lower humidity level, etc. It could also be caused by poor strain.
Drying out substrate or mushroom caps
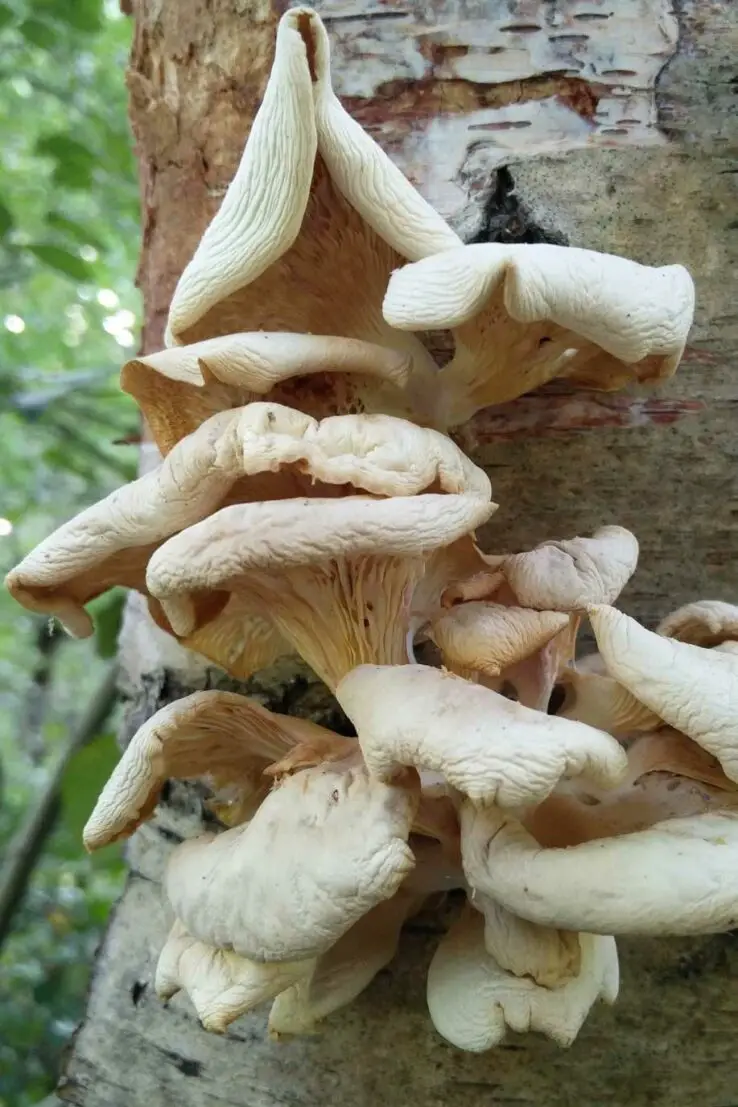
Drying out mushroom caps or the substrate usually happens when the humidity level drop in the mushroom fruiting area. To solve this, you need to increase and maintain the humidity level. Oyster mushrooms grow in high humidity areas, usually about 85+%.
You can use a spray bottle, OR get a small humidifier to do the trick. For us, we like to use an ultrasonic humidifier, as it is more fun. If you want to automate the humidifying process or keep it as accurate as possible, you should also use a humidity controller beside your humidifier. I bet you'll love it.
Pro tip: Keep your humidifier outside your growing chamber and pump the humidity in. This will also bring in fresh air which is necessary for growing healthy oyster mushrooms.
Green mold
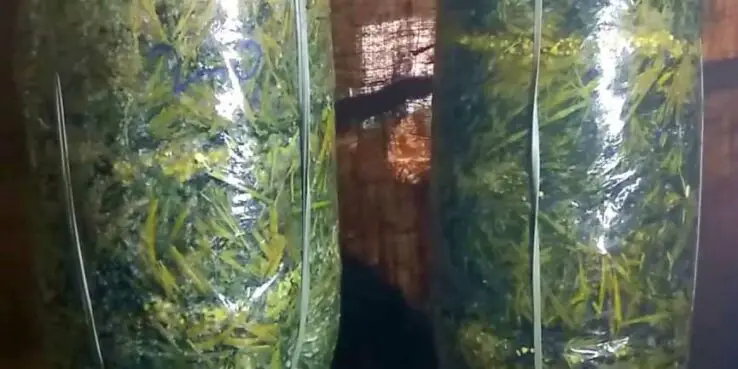
The green mold issue is one of the most common problems faced by many. It happens due to a fungus called Trichoderma, or simply known as "trich". The solution is to cut it as soon as you see it. OR, better you should compost that infected bag and start over.
High Temperature ( 35+C )
Higher temperatures may hurt your mushroom spawn. It may reduce the mycelial growth rate and leave the substrate vulnerable to competitors such as Coprinus spp. known as ink caps, and Trichoderma spp. - or green mold (see above).
Orange fluid
Although it is not contaminated, it is a sign of mycelium fight. Due to this fight, an orange-colored fluid will come out. It is a metabolite that the oyster mushroom is sweating out.
These metabolites are being studied for medicinal purposes and might have serious benefits in the health sector.
Frequently Asked Questions (FAQs)
How long does it take to grow oyster mushrooms?
It usually takes about 5-8 weeks to produce 3 crops of oyster mushrooms. A crop of oyster mushrooms can be harvested 3 times before the mycelium foods fully consumed. During this time, a new crop of mushrooms can be harvested every 7-14 days.
Are oyster mushrooms easy to grow?
Yes, Oyster mushrooms are probably the easiest of all. They can be grown on many substrates, and they can survive in many climates. There are varieties for both cool and hot areas. So, it fits where ever you live.
What is the easiest way to grow oyster mushrooms in an economical way?
The easiest way to grow oyster mushrooms economical way is to either buy an oyster mushroom kit by gourmet mushrooms etc. or trying to grow on coffee grounds and straw at home or a mushroom farm.
Are Oyster mushroom spores dangerous?
Oyster mushrooms spores are not dangerous. But some people may get allergic due to spores with a longer period. So it is advised to use a mask while handling. It should also be harvested before it starts dropping spores.
Growing Oyster Mushrooms Video
A great video on YouTube by abHIMALAYAN, about how to grow oyster mushrooms at home.
You might also be interested in How to Grow Mushrooms - The Easy and Ultimate Guide.

